Showing posts with label DIGITAL ANIMATION. Show all posts

Monday, 28 September 2015

TITLE SEQUENCES (FINAL PROJECT)

[THE SECRET LADY]


==========================PREPRODUCTION:==========================

STORY BOARD IDEA:


STYLE FRAMES (CONCEPT IDEA OF THE STORYBOARD):


BUDGET LIST:

 CALL SHEET:


 LOCATION SCOUTING:

1. TUNE HOTEL


2. BACK STREET


PROPS LIST:


 * DIY fake fingers for the shooting purpose.


WARDROBE:


ACTOR PROFILE:


CHARACTER: THE SECRET LADY
NAME: TAN YUEEN LU
D.O.B: 01-11-1997
GENDER: FEMALE
OCCUPATION: STUDENT


CREW LIST:


==============================PRODUCTION==============================


*THEY WERE MAKING SOME FAKE FOG FOR THE SCENES.


=============================POST PRODUCTION===========================


Project Finally done!!

I'm sincere and really appreciate to my group members Greyson and Danny!

Had a great cooperation experience with these amazing people, thank you so much:)


2D CHARACTER ANIMATE


[TWEETY BIRD]


STEPS:

1. Adobe Illustrator


2. Adode After Effect
playing with the key frames


* Render (CTRL+M)


STYLE FRAMES

PICTURES FROM INTERNET AND SELF FOOTAGE:


COMBINE INTO STYLE FRAMES:


Adobe Illustrator:

1. Font, Clipping Mask, Transparency, Outer glow
2. Font, Free Distort
3. Font
4. Font, Arrangement, Opacity 
5. Font, Colour Balance,Transparency
6. Font, Gradient, Outer glow
7. Font
8. Font, Arrangement, Colour Adjustent
9. Font, Clipping Masks


Wednesday, 29 July 2015

PARALLAX

Parallax is a displacement or different in the apparent position of an object viewed along two different lines of sight, and is measured by the angle or semi-angle of inclination between those two lines.


STEPS (PS, AE):


PS. Split the object into different layers. It will make it easier to animate the object.

AE. Using puppet tool to label the moving point, by dragging and move the point to make the object looks slightly moving.

right click--new--camera to open a new camera adjustment layer.


===========================================================

PS. Split each different object into layers.

Open a sub-layer, adding a new cloud to cover the flaw on the moon.

AE. Using the CC Pixel Polly effect to smash up the rock.


=============================================================

PS. Split the object into different layers.

Using Polygonal Lasso Tool to cut off the object. After that Right Click--Fill.

Choose--Content Aware to fill up the unwanted part.

And it will become like this.

AE. Using puppet tool to label the moving point, by dragging and move the point to make the object looks slightly moving.


======================================================


DRIVEN


STEPS (AE, AU):


AE. At first, I give position to move the car.

By setting motion blur to the gangster when he's turning left and right can make it more realistic.

Adjust the car's position and scale to make it looks coming forward. Also, right click and choose 'easy-easy in' at the last key frame.

Using Glow Radius and Drop Shadow effect on the word driven. Meanwhile, we can also play with the transformation for exp position, scale, opacity and etc.

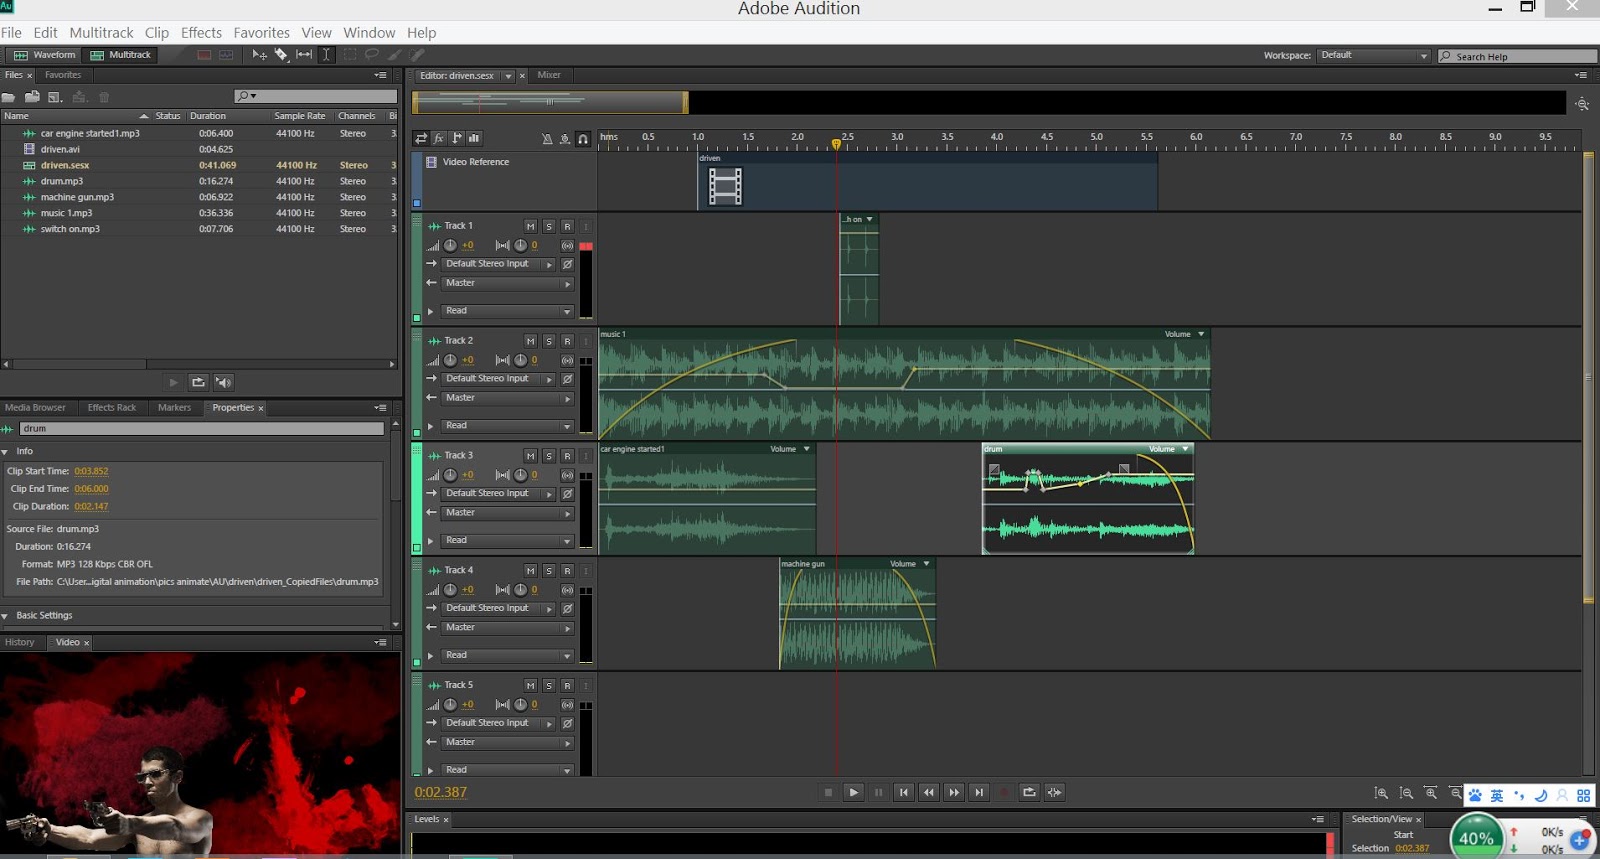
AU. Adding some background music and effect.

Using Time Selection Tool which can get in the tool bar to select the duration of the audio mixdown.


=========================================================