Parallax is a displacement or different in the apparent position of an object viewed along two different lines of sight, and is measured by the angle or semi-angle of inclination between those two lines.
STEPS (PS, AE):

PS. Split the object into different layers. It will make it easier to animate the object.

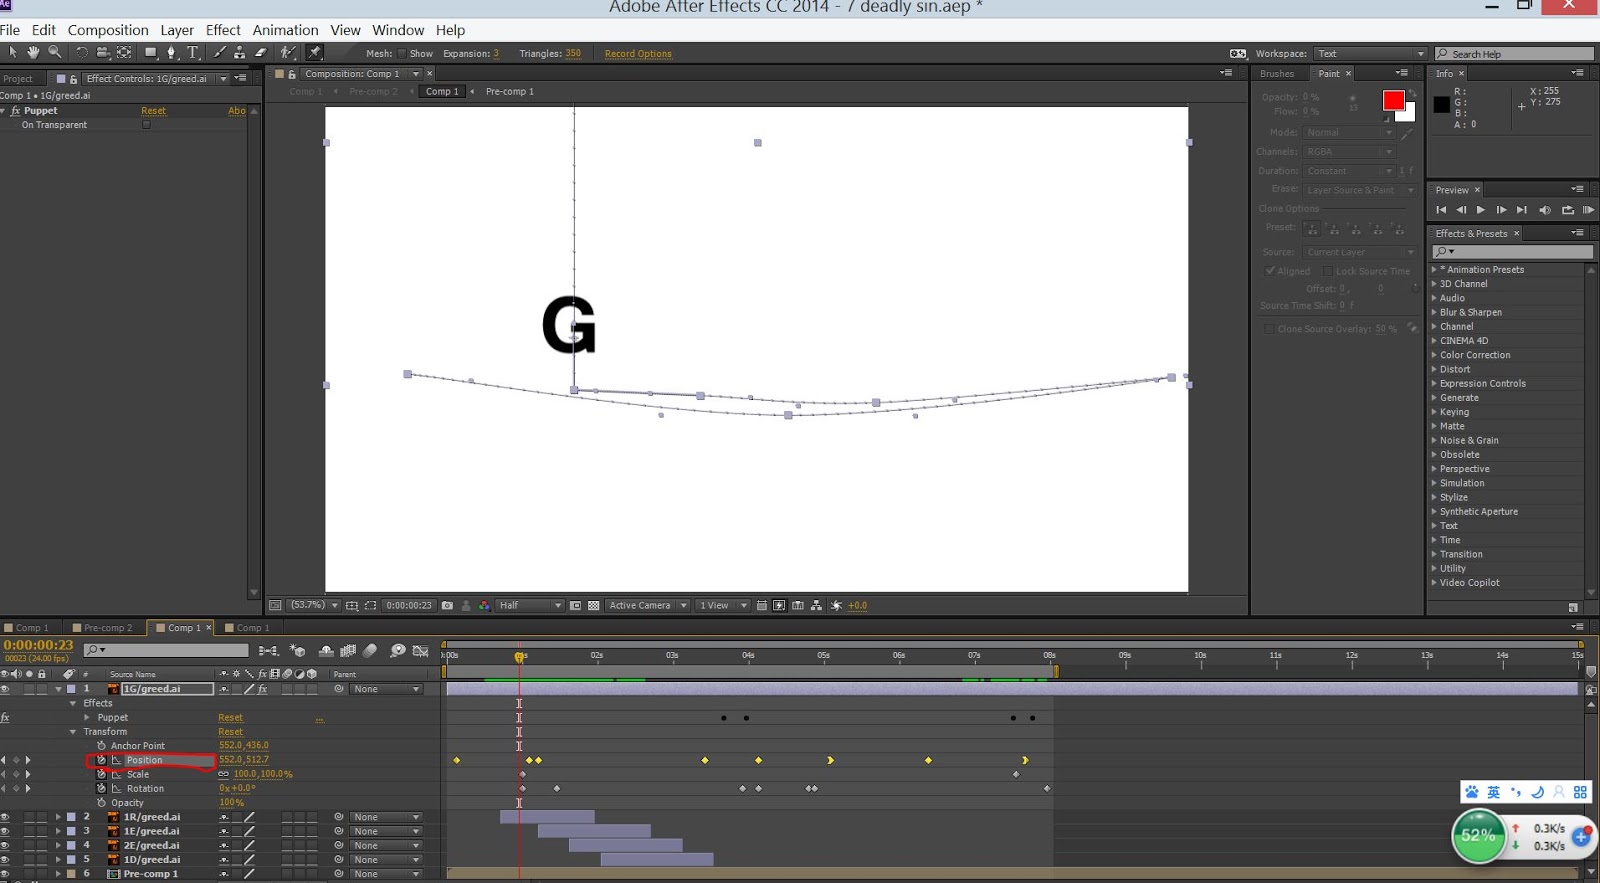
AE. Using puppet tool to label the moving point, by dragging and move the point to make the object looks slightly moving.

right click--new--camera to open a new camera adjustment layer.
===========================================================

PS. Split each different object into layers.

Open a sub-layer, adding a new cloud to cover the flaw on the moon.

AE. Using the CC Pixel Polly effect to smash up the rock.
=============================================================

PS. Split the object into different layers.

Using Polygonal Lasso Tool to cut off the object. After that Right Click--Fill.

Choose--Content Aware to fill up the unwanted part.

And it will become like this.

AE. Using puppet tool to label the moving point, by dragging and move the point to make the object looks slightly moving.
======================================================